Installing antenna-extenders for sensors
This article describes how antenna-extenders can be fitted onto sensors to increase the signal range and quality.
Step 1: Placing the sensor
- First of all place the sensor in the pot/through/slab as is described in the installation manual for the sensors.
- Do not yet screw the 'normal' antenna (which came with the sensors) onto the sensor.
Step 2: Mounting antenna
- Remove the antenna extender from its package.
- Screw the antenna onto the bracket. This can either be the antenna from the same package as the extender cable, or the 'normal' antenna that comes with the sensors. In case the latter is chosen, take a piece of duct-tape and wrap it around the pivot point of the antenna as shown in the pictures below. This ensures it will not bend because of e.g. wind.
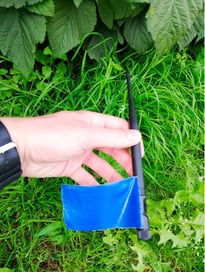
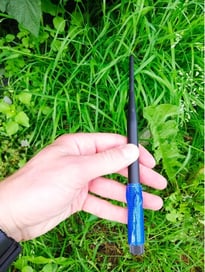
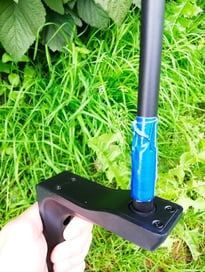
- Mounting the bracket:
The bracket with the antenna can be mounted either on a wooden or metal pole.
For wood: Screw 2 stainless steel screws (at least 4cm) through the bracket into the pole.
For metal: Attach the bracket with UV-resistant tie-wraps, with the bracket firmly held to the pole and antenna upright.

Make sure the top of the antenna does not extend above the top of the pole, in case the top of the plants is mowed off at the end of the season. - Attach a piece of white/red ribbon at the base of the antenna, to make sure it is clearly visible where it is placed. (And this also marks the location of the sensor).
Step 3: Connecting the antenna via the cable
- Guide the cable that is attached to the bracket along the pole and attach it with tie-wraps.
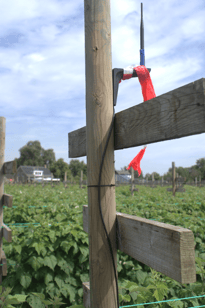
- Screw the end of the cable on the sensor.
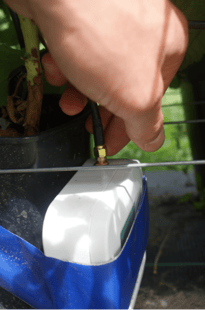
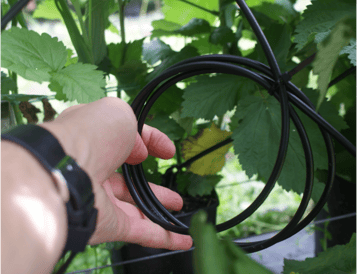
- Roll up the slack piece of cable and fix it with a tie-wrap. Make sure it is not possible for this slack part to be damaged/touched during (crop-)maintenance.
Below are two examples of how the slack piece can be rolled up and stored away.
