![Growficient_donkergroen copy.png]](https://help.growficient.com/hs-fs/hubfs/Growficient_donkergroen%20copy.png?height=40&name=Growficient_donkergroen%20copy.png)
This article instructs the basics of navigating the dashboard you see when logging on to your Growboard.
Start page
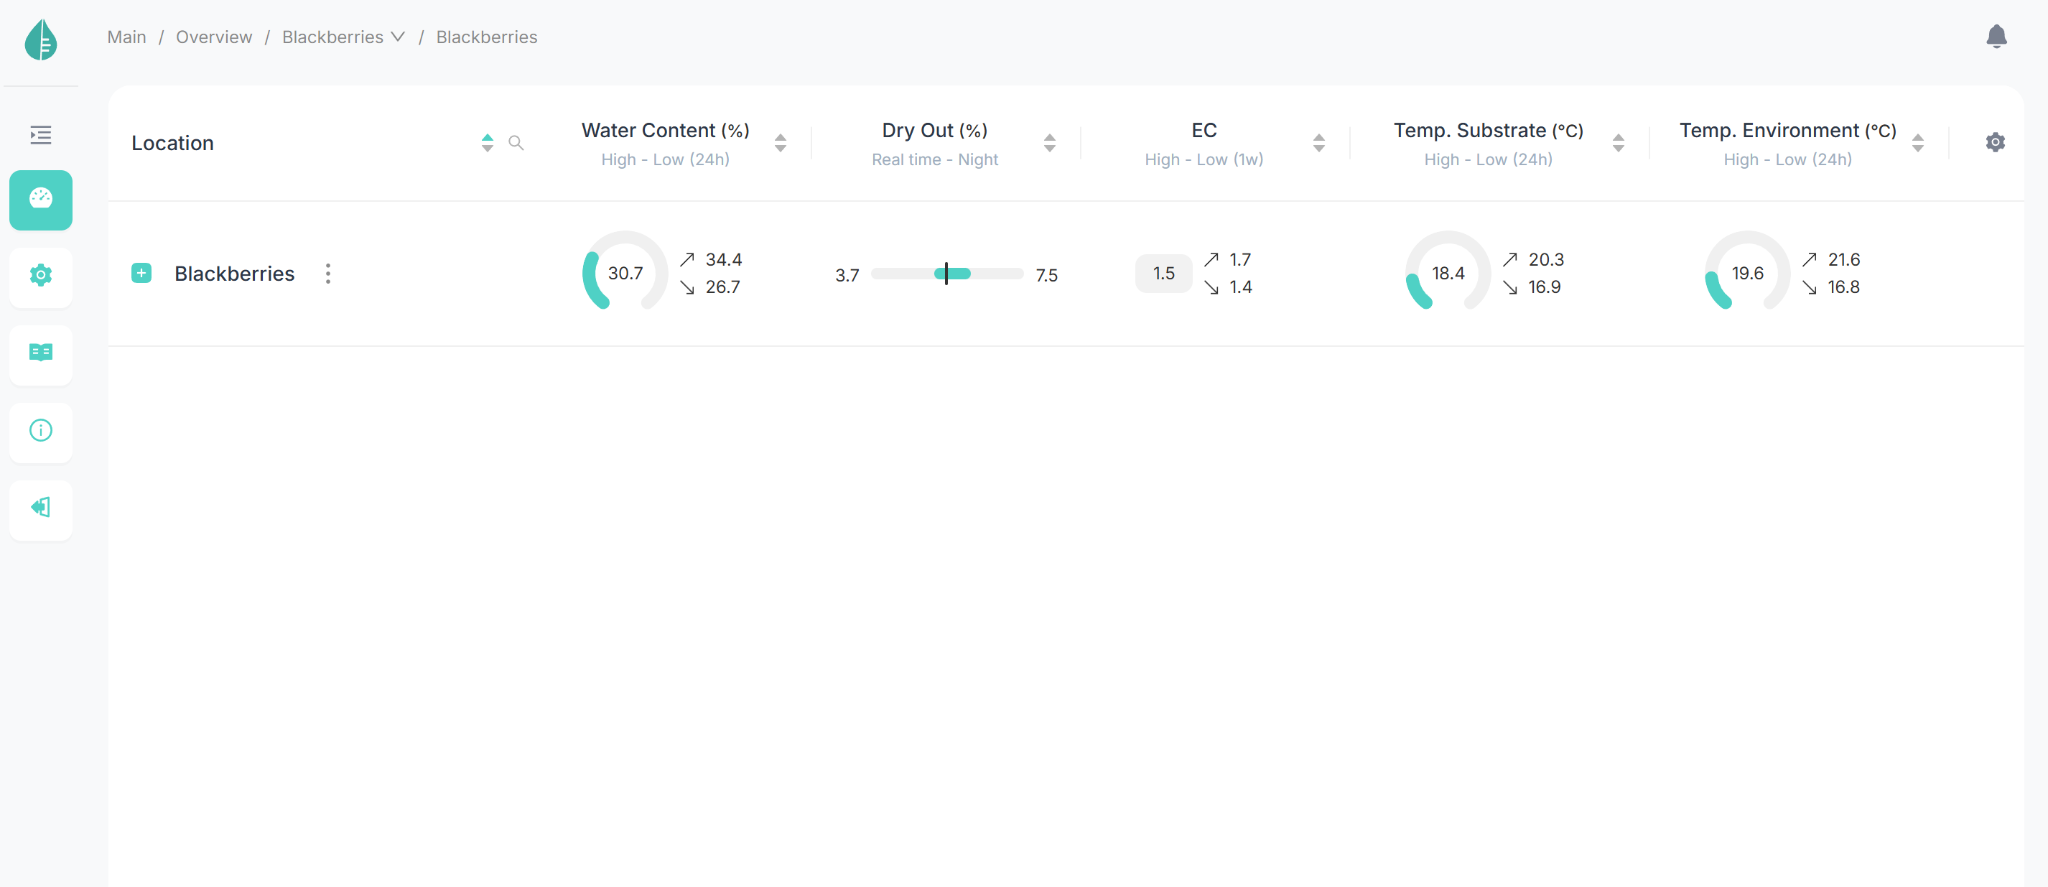
This is your view at start. You are now viewing your location. If you have multiple locations, you will see them in a list here.
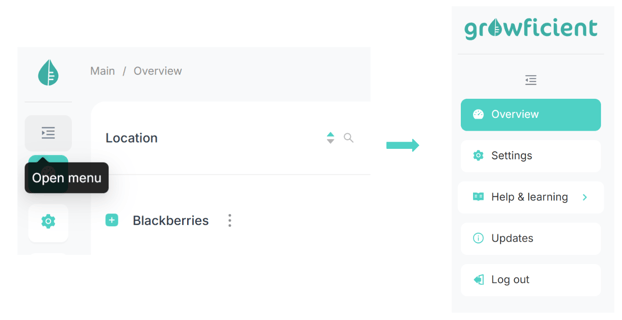
On the left, we have our menu bar, which opens the menu:
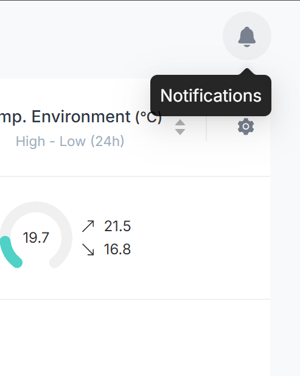
On the right, we have our notification center
Right underneath, behind the cog-icon  , we have our Measurements table editor. By clicking the cog-icon, you can edit which values you want to see in your overview. Read more about this in the Growboard legend help page.
The Growboard structure
The Growboard is designed to reflect your setup.
- Compartments often reflect rooms or cultivations
- Sections often reflect valves, tunnels, or zones
- Placements often reflect rows, pots, or troughs
Your Growboard is structured to show you an overview, with the option to always look deeper into specific data. By clicking the plus icon of the location, you will see all the compartments:
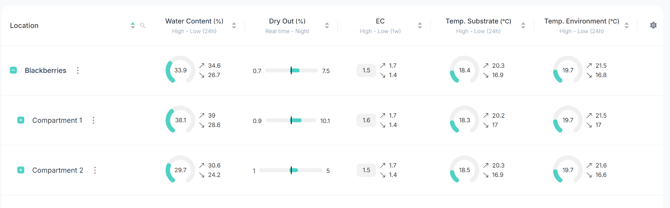
When clicking the plus icon of the compartment, you will open sections (named zones for this location):
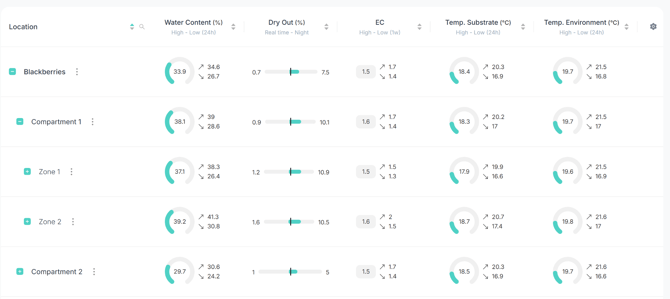
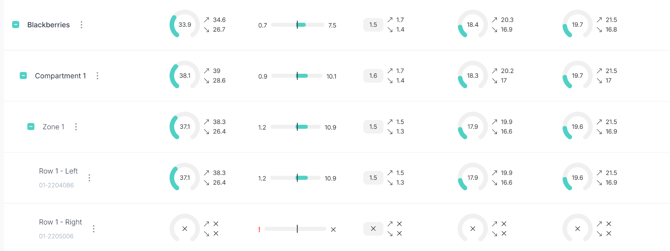
Clicking the plus icon on section level will open placements. One placement can host one sensor. Here, section/zone 1 has two sensors, one placed on the left and one placed on the right:
The three dots ⋮ of action
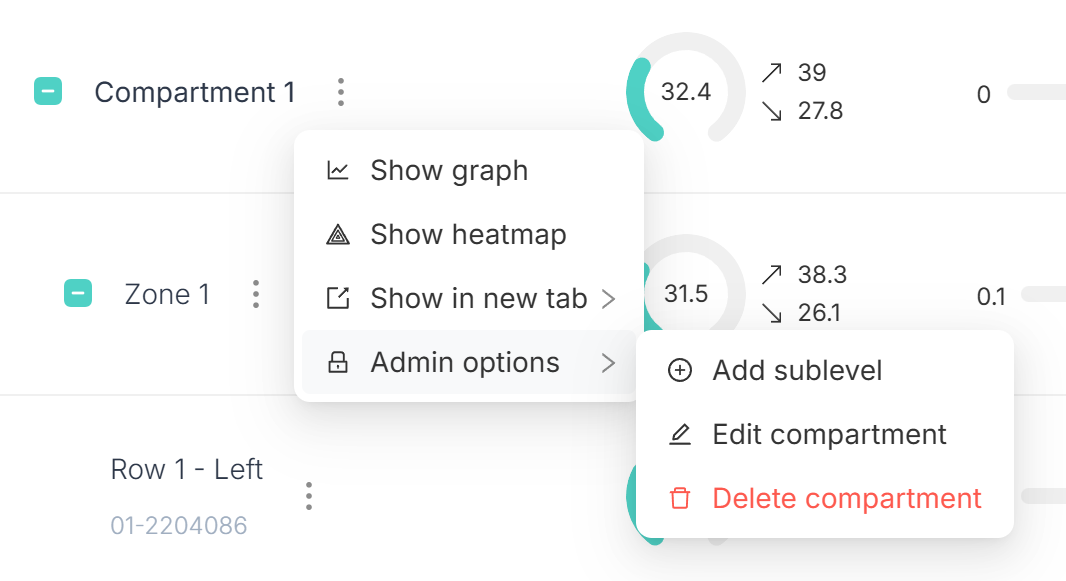
The three dots next to the compartment/section/placement open a menu of actions.
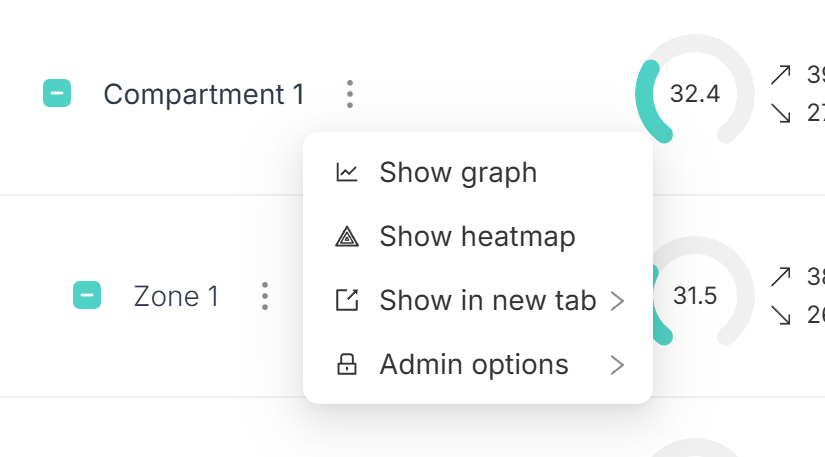
Here you can open the graph. When clicking ‘Show graph’ from the three dots of the compartment, you will open the graph on compartment level. Same goes for section level. You can also navigate between the compartments and sections within the graph tool.
The same principle applies to the heatmap. If you open the heatmap from the three dots next to the compartment, the heatmap will show compartments. Opening it from section level will show you a heatmap of the sections.
Admin options
Note! You must be an admin to make the following changes. If you do not have admin rights please contact your location admin or support@growficient.com to change this.
All four levels – location, compartment, section, and placement – have ‘Admin options’. This opens a menu for you to edit the selected level. You can add a sublevel, edit the existing one, or delete it. This is only available to admins, but growers can edit the names. More about the different location roles here.
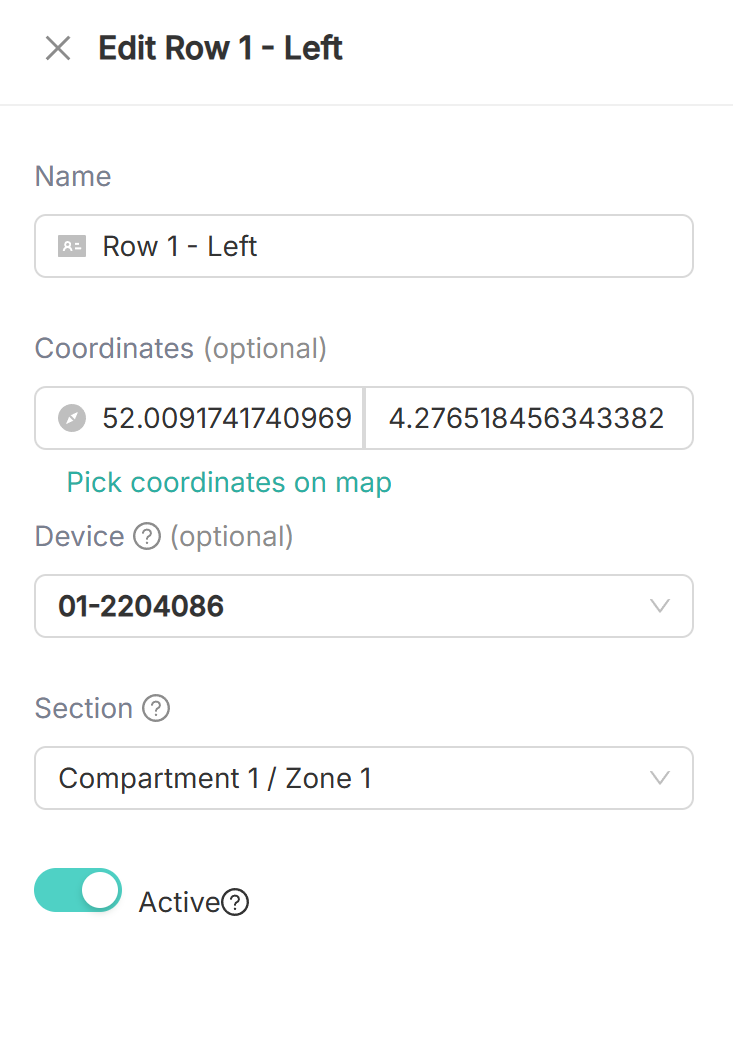
From the edit-function, you can rename any of the levels. You can also move sections between compartments and move placements/sensors from section or compartment to another using the drop-down menu. In the placement editor, you can also add coordinates to move the sensor on the heatmap. You can learn more about moving sensors from our help articles Moving sensors with their data and Moving sensors without data